Diymore ESP32-CAM WiFi Bluetooth-Entwicklungsplatine mit OV2640-Kameramodul und 8 dBi Dualband-Antenne + IPEX-zu-RP-SMA-Pigtail-Kabel
Unverb. Preisempf.: 13,99 €
12,59 €Sie sparen 1,40 € (10%)
Schritt für Schritt Anleitung:
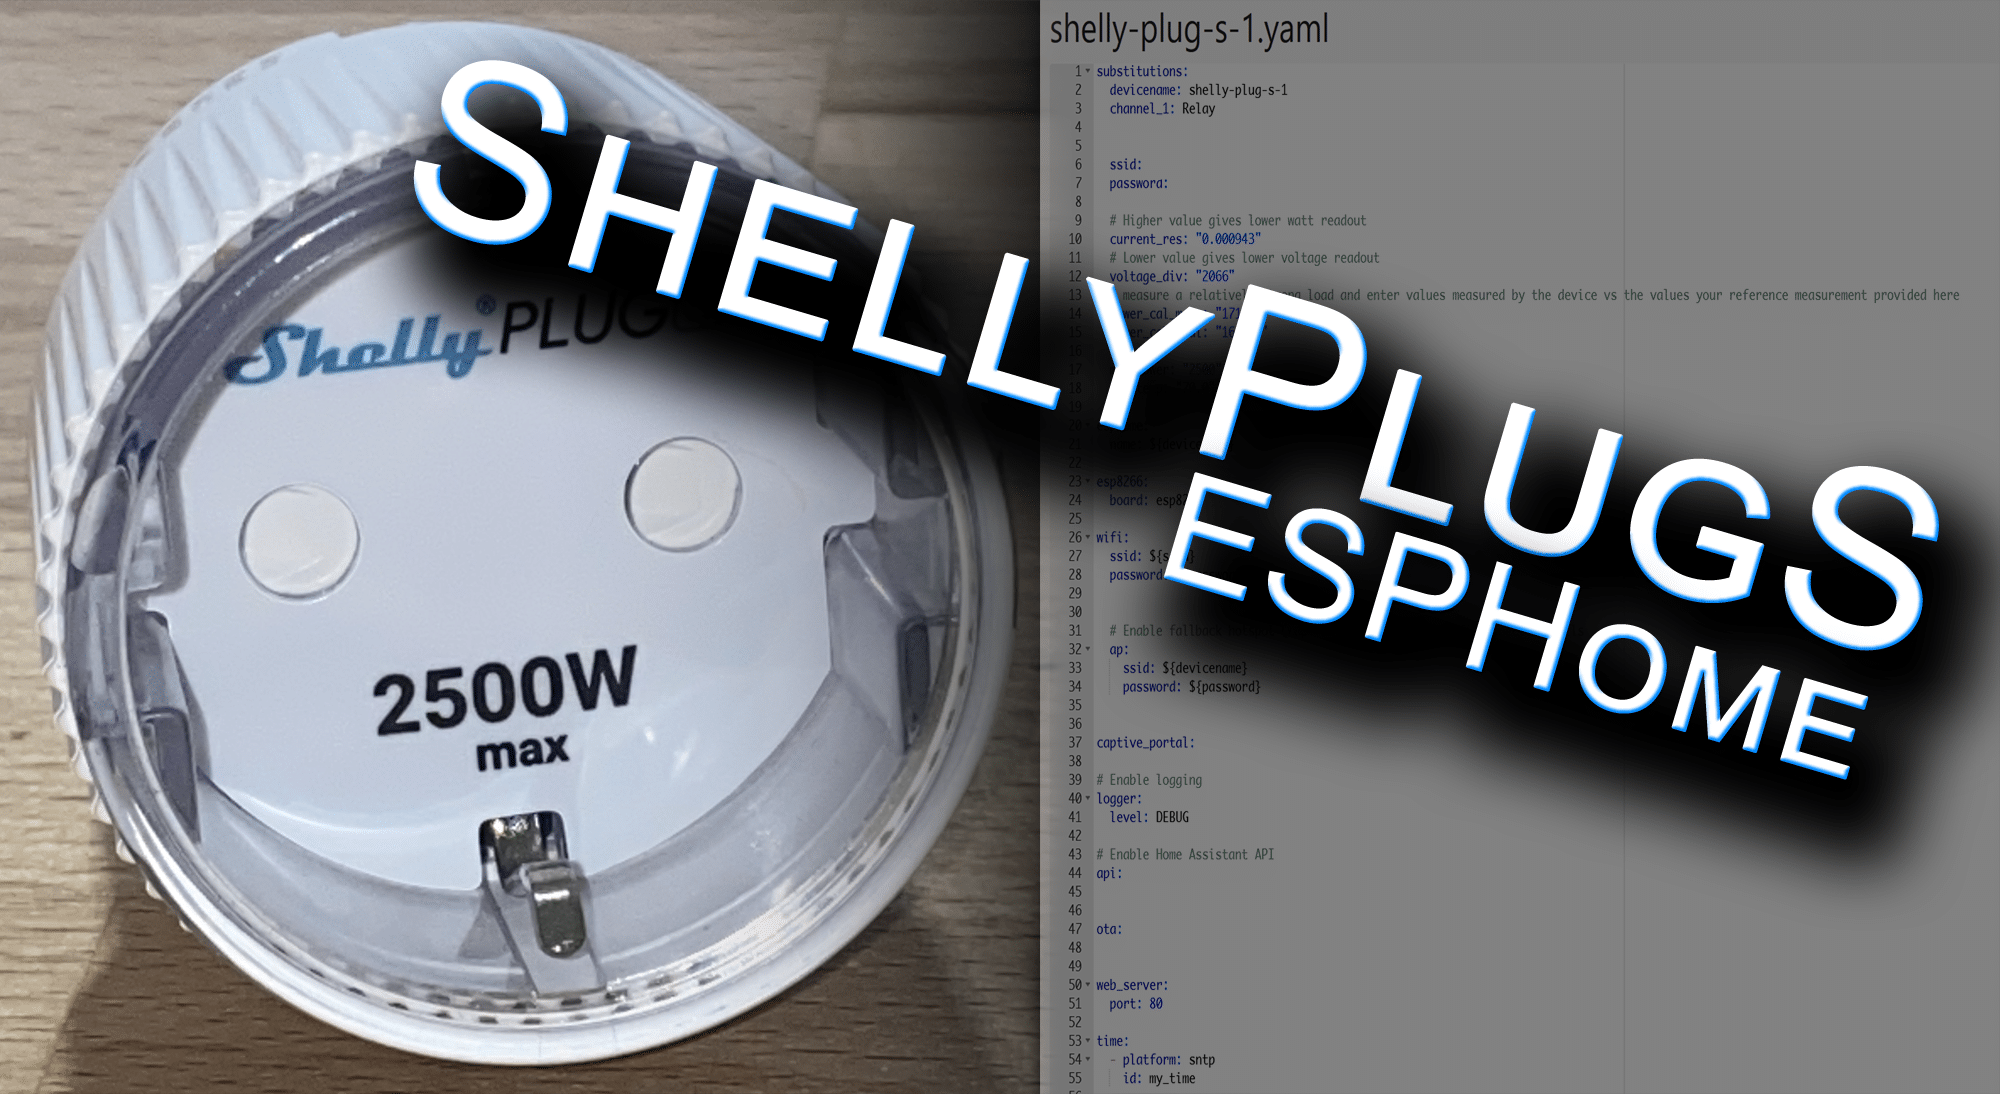
Power Plug S von Shelly kann ohne löten direkt über WLAN (OTA) geflasht werden.
Dazu müsst Ihr lediglich die folgenden Schritte durchführen:
Schritt 1: Diesen Link inkl. der IP vom Shelly Plug S im Browser aufrufen
http://Hier_Deine_Ip_Vom_Plug/ota?url=http://dl.dasker.eu/firmware/mg2tasmota-ShellyPlugS.zip
Danach ein wenig Geduld
Schritt 2: Eine ältere Version von Tasmota flashen
http://ota.tasmota.com/tasmota/release-7.2.0/tasmota-minimal.bin
Schritt 3: Nun erzeugt ihr euch eine BIN Datei im ESPHome mit dem Codebeispiel unten
Schritt 4: Über die Oberfläche von Tasmota könnt ihr nun die BIN Datei von ESPHome OTA flashen.
Schritt 5: Im Home Asssitant sollte ein neues Gerät gefunden werden was ihr einbinden könnt.

Preis: --
(Stand von: 2025/05/19 5:09 am - Details)
0 neu0 gebraucht
(* = Affiliate-Link / Bildquelle: Amazon-Partnerprogramm)
Codebeispiel:
substitutions:
  devicename: shelly-plug-s-1
  channel_1: Relay


  ssid: SSID
  password: PASSWORT

  # Higher value gives lower watt readout
  current_res: "0.000943"
  # Lower value gives lower voltage readout
  voltage_div: "2066"
  # measure a relatively strong load and enter values measured by the device vs the values your reference measurement provided here
  power_cal_meas: "1710.0"
  power_cal_real: "1685.0"

  max_power: "2500"
  max_temp: "70.0"

esphome:
  name: ${devicename}

esp8266:
  board: esp8285

wifi:
  ssid: ${ssid}
  password: ${password}


  # Enable fallback hotspot (captive portal) in case wifi connection fails
  ap:
    ssid: ${devicename}
    password: ${password}


captive_portal:

# Enable logging
logger:
  level: DEBUG

# Enable Home Assistant API
api:


ota:


web_server:
  port: 80

time:
  - platform: sntp
    id: my_time

binary_sensor:
  - platform: gpio
    pin:
      number: GPIO13
      inverted: True
    name: "${devicename}_button"
    on_press:
      - switch.toggle: relay

status_led:
  pin:
    number: GPIO02
    inverted: True

output:
  - platform: gpio
    pin: GPIO00
    inverted: true
    id: led

switch:
  - platform: gpio
    pin: GPIO15
    id: relay
    name: "${channel_1}"
    on_turn_on:
      - output.turn_on: led
    on_turn_off:
      - output.turn_off: led

sensor:
  - platform: wifi_signal
    name: "${devicename} WiFi Signal"
    update_interval: 300s

  # NTC Temperature
  - platform: ntc
    sensor: temp_resistance_reading
    name: ${devicename} temperature
    unit_of_measurement: "°C"
    accuracy_decimals: 1
    icon: "mdi:thermometer"
    calibration:
      b_constant: 3350
      reference_resistance: 10kOhm
      reference_temperature: 298.15K
    on_value_range:
      - above: ${max_temp}
        then:
          - switch.turn_off: relay
          - homeassistant.service:
              service: persistent_notification.create
              data:
                title: Message from ${devicename}
              data_template:
                message: Switch turned off because temperature exceeded ${max_temp}°C
  - platform: resistance
    id: temp_resistance_reading
    sensor: temp_analog_reading
    configuration: DOWNSTREAM
    resistor: 32kOhm
  - platform: adc
    id: temp_analog_reading
    pin: A0

  - platform: hlw8012
    model: BL0937
    sel_pin:
      number: GPIO12
      inverted: true
    cf_pin: GPIO05
    cf1_pin: GPIO14
    current_resistor: ${current_res}
    voltage_divider: ${voltage_div}
    current:
      name: "${channel_1} current"
      unit_of_measurement: "A"
      accuracy_decimals: 3
      icon: mdi:flash-outline
    voltage:
      name: "${channel_1} voltage"
      unit_of_measurement: "V"
      icon: mdi:flash-outline
    power:
      name: "${channel_1} power"
      id: power
      unit_of_measurement: "W"
      filters:
        - calibrate_linear:
          - 0.0 -> 0.0
          - ${power_cal_meas} -> ${power_cal_real}
      icon: mdi:flash-outline
      on_value_range:
        - above: ${max_power}
          then:
            - switch.turn_off: relay
            - homeassistant.service:
                service: persistent_notification.create
                data:
                  title: Message from ${devicename}
                data_template:
                  message: Switch turned off because power exceeded ${max_power}W
    update_interval: 10s

  - platform: total_daily_energy
    name: "${channel_1} daily energy"
    power_id: power
    filters:
      # Multiplication factor from W to kW is 0.001
      - multiply: 0.001
    unit_of_measurement: kWh

